
Custom Aligner Packaging Boxes & Patient Kits
Custom packaging for clear aligners, retainer cases and orthodontic patient kits. Organize treatment stages, accessories and patient materials in a box structure developed around your complete kit.

Develop the Packaging Around Every Part of the Aligner Kit
Aligner and orthodontic kits can combine several products within one presentation. We review how each component fits, how the patient accesses it and how the complete kit should be organized before defining the final packaging structure.
Main Treatment Components
Define the primary products and the amount of space they need before planning the overall box dimensions.
Case & Daily-Use Items
Provide dedicated positions for an aligner or retainer case and other frequently accessed components.

Accessories & Tools
Smaller accessories can use separate cavities or compartments instead of moving freely inside the package.
Patient Information
Instructions, treatment guides or welcome materials can be integrated without competing with the main product presentation.
Actual component dimensions, quantity, access direction and the intended presentation help determine whether the final solution should use one level, removable layers, fitted inserts or separated compartments.
Match the Packaging Architecture to Your Aligner Program
The appropriate packaging configuration is determined by the number of components, treatment sequence, access requirements and level of patient presentation rather than by selecting an outer box size first.

Case Only
Suitable when the patient receives a standalone aligner or retainer case without a larger accessory set. The packaging can remain compact while still providing controlled product fit, brand presentation and protection during handling.

Case + Accessories
When a kit combines an aligner or retainer case with removal tools, chewies, cleaning accessories or other patient-use components, dedicated zones help control movement and make individual items easier to identify and remove.

Starter / Welcome Kit
Designed for the beginning of the treatment journey, where aligner-related products, accessories and patient information need to be introduced in a clear sequence. Interior hierarchy becomes an important part of the first-opening experience.
Full Patient Kit
Developed for programs containing multiple aligner stages. The packaging needs to maintain treatment sequence while reserving clearly defined areas for the case, supporting accessories and patient information throughout the program.
Physical samples or accurate dimensions allow us to review component spacing, removal clearance, treatment-stage capacity and insert construction before the packaging sample is developed. This helps control unnecessary package volume while keeping the complete patient kit organized, accessible and practical to assemble.
Find the Right Box Structure for Your Aligner Packaging
The outer structure should follow the treatment-stage quantity, insert depth, patient access and presentation level of the kit. We compare the internal layout first, then select the box architecture that fits the program.

Magnetic Book-Style Box
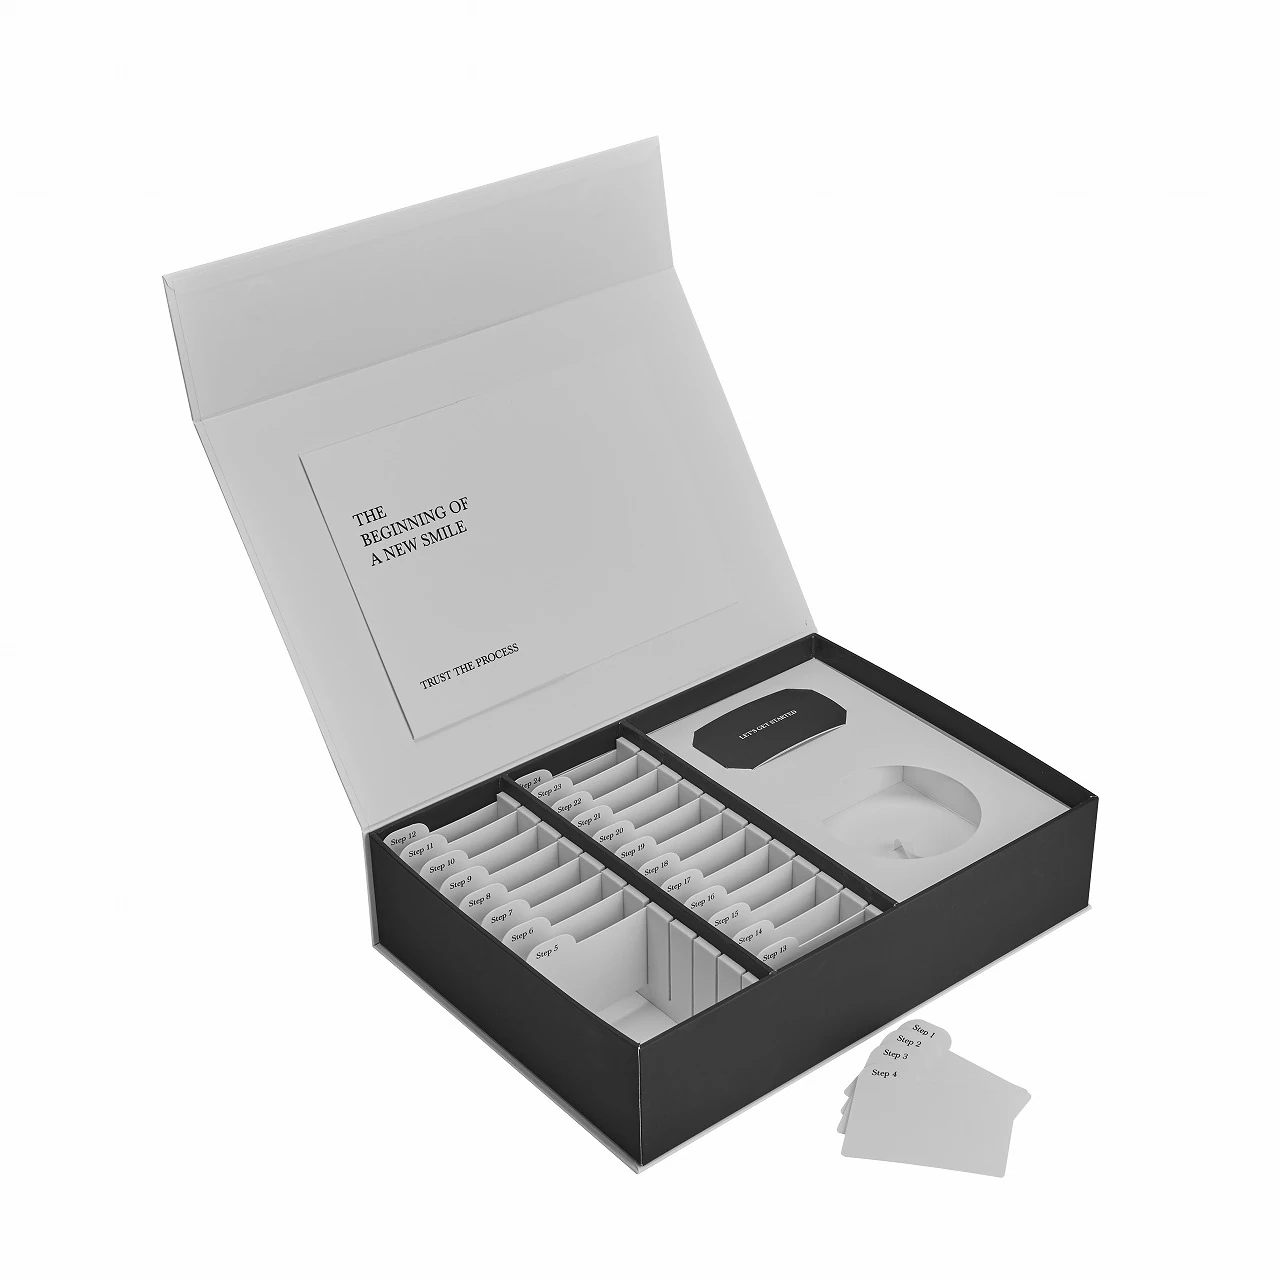
Best suited to complete patient kits that combine multiple treatment stages, a retainer or aligner case, accessories and printed patient materials. The rigid hinged format gives the interior enough depth and presentation area for a clearly organized treatment program.

Drawer Box
Keeps the insert stable while the patient pulls the interior outward. Useful for compact kits where controlled access and a clean presentation matter.

Lid & Base Box
A simple rigid format with a broad presentation area and fewer moving parts. Works well when the main kit can remain on one level.

Multi-Level Organizer
Separates treatment stages, accessories and literature vertically when one wide presentation plane would make the package unnecessarily large.

Folding Carton
A lighter paperboard option for compact kits, refill packs or programs where packing efficiency matters more than a rigid presentation box.
How premium should the opening and patient experience feel?
How many stages, accessories and printed materials must be organized?
How important are package size, assembly speed and shipping weight?
Engineer the Interior Around the Actual Products
Reliable packaging development starts with the components that will actually go inside the box. Product dimensions, quantity, orientation and removal clearance should be established before the insert and final internal dimensions are confirmed.
Define the occupied space before defining the box.
The product size is not automatically the cavity size. Allowance must also be considered for product access, insert material, assembly and the intended level of retention.
Send us your component dimensions, photos or existing samples. We can use them to review the required cavity arrangement, insert depth and overall packaging layout before sampling.
Organize Each Part of the Aligner Kit with the Right Interior System
Aligner packaging often combines products with very different retention requirements. Treatment-stage packs, cases, dental tools, accessories and patient literature can use different interior constructions within the same box.
The insert is selected around retention, treatment sequence, product access and packing efficiency — not material preference alone.
Aligner-Specific Structure


Paperboard Divider + EVA Side Retention
- Construction
- Thick paperboard creates repeated stage slots while EVA along the slot sides grips the packs without closing the top access.
- Best For
- Multi-stage aligner packs, treatment cards and sequential patient programs.
- Main Function
- Keeps treatment order visible while controlling side movement.
PET Blister Tray
- Construction
- Vacuum-formed PET creates product-specific recesses around cases, tools and dental accessories.
- Best For
- Irregular products that need controlled positioning with relatively low insert thickness.
- Main Function
- Precise fit with efficient use of interior depth.
Wrapped Greyboard Partition
- Construction
- Rigid greyboard partitions are fabricated into slots and wrapped with printed or specialty paper.
- Best For
- Larger patient kits with many treatment stages or where higher divider rigidity is required.
- Main Function
- Creates durable and visually integrated treatment compartments.
Paperboard Insert + Individual Cartons
- Construction
- Folded card forms the main internal architecture while selected products are packed inside separate small cartons.
- Best For
- Welcome kits combining several product categories, instructions and patient accessories.
- Main Function
- Separates different products without requiring a molded cavity for every item.
EVA Insert + Open Storage Zone
- Construction
- Die-cut EVA secures the components requiring precise retention, while another compartment remains open.
- Best For
- Kits containing a mix of fitted tools, cases and loose or separately packed accessories.
- Main Function
- Uses precise retention only where it is actually needed.
A complete aligner package can combine PET cavities, EVA retention, paperboard slots, rigid greyboard partitions and open compartments within one structure. The final system should follow the treatment sequence, product geometry, access requirement and packing process.
Send us the number of treatment stages, component dimensions, accessory list and product photos. We can review where fitted retention is necessary, where dividers are more practical and how different insert systems can be combined before sampling.
Build the Visual Finish Around Your Aligner Brand
Compare paper stocks, printing methods, laminations and specialty finishes for custom aligner packaging. The final combination should support the box structure, treatment program, artwork and intended patient presentation rather than being selected as decoration alone.
Combine Materials and Finishes Around the Brand Experience
The same aligner kit can communicate very different positioning depending on the paper surface, color system and finishing combination. These directions provide practical starting points; final specifications should be confirmed through artwork review and physical sampling.
Professional Orthodontic Presentation
White or pale-blue surfaces with controlled typography and restrained metallic detailing create a clean treatment-focused appearance suitable for clinic-led and professional aligner brands.
Premium Treatment Program
Specialty paper or soft-touch surfaces combined with dimensional branding can give complete treatment programs a stronger premium presentation without making the packaging visually excessive.
Modern Direct-to-Patient Direction
Brighter Pantone colors, simplified graphics and selective finishes can create a more approachable consumer-facing identity while keeping treatment information clear and structured.
Explore Aligner Packaging Structures We Have Produced
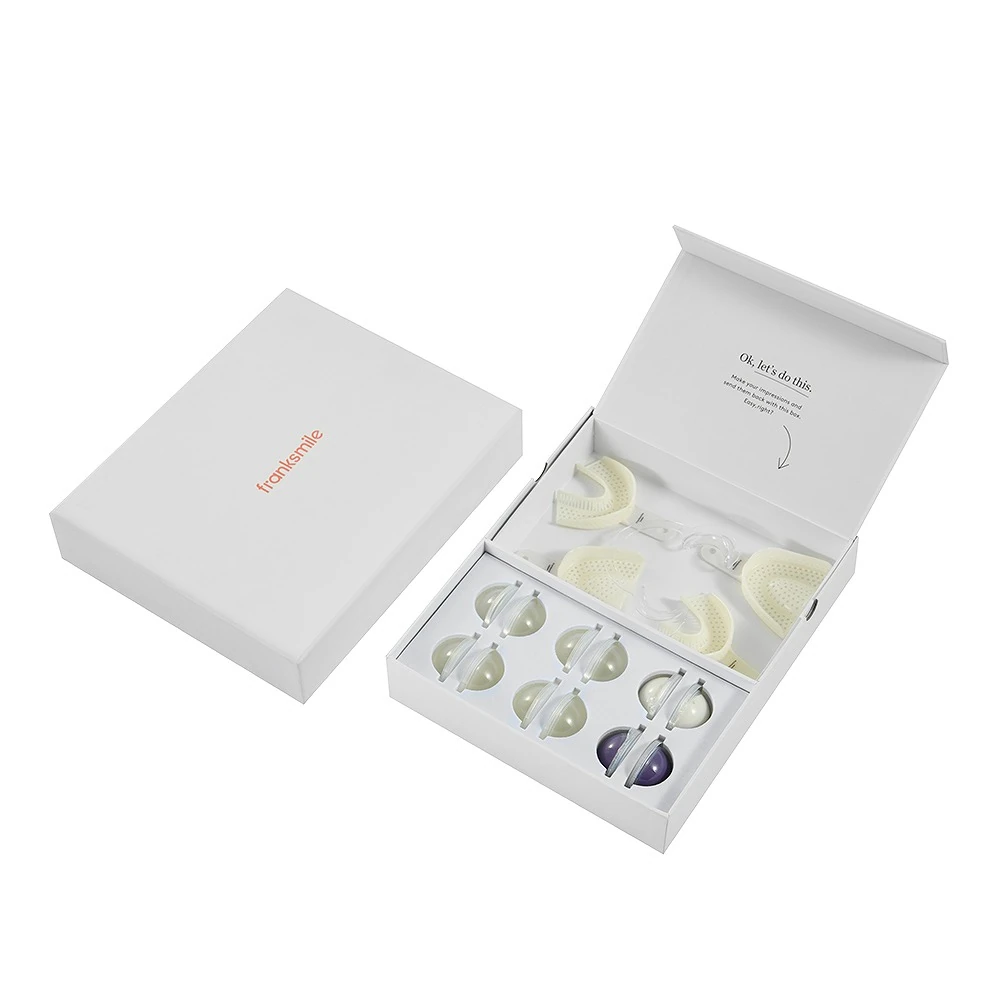
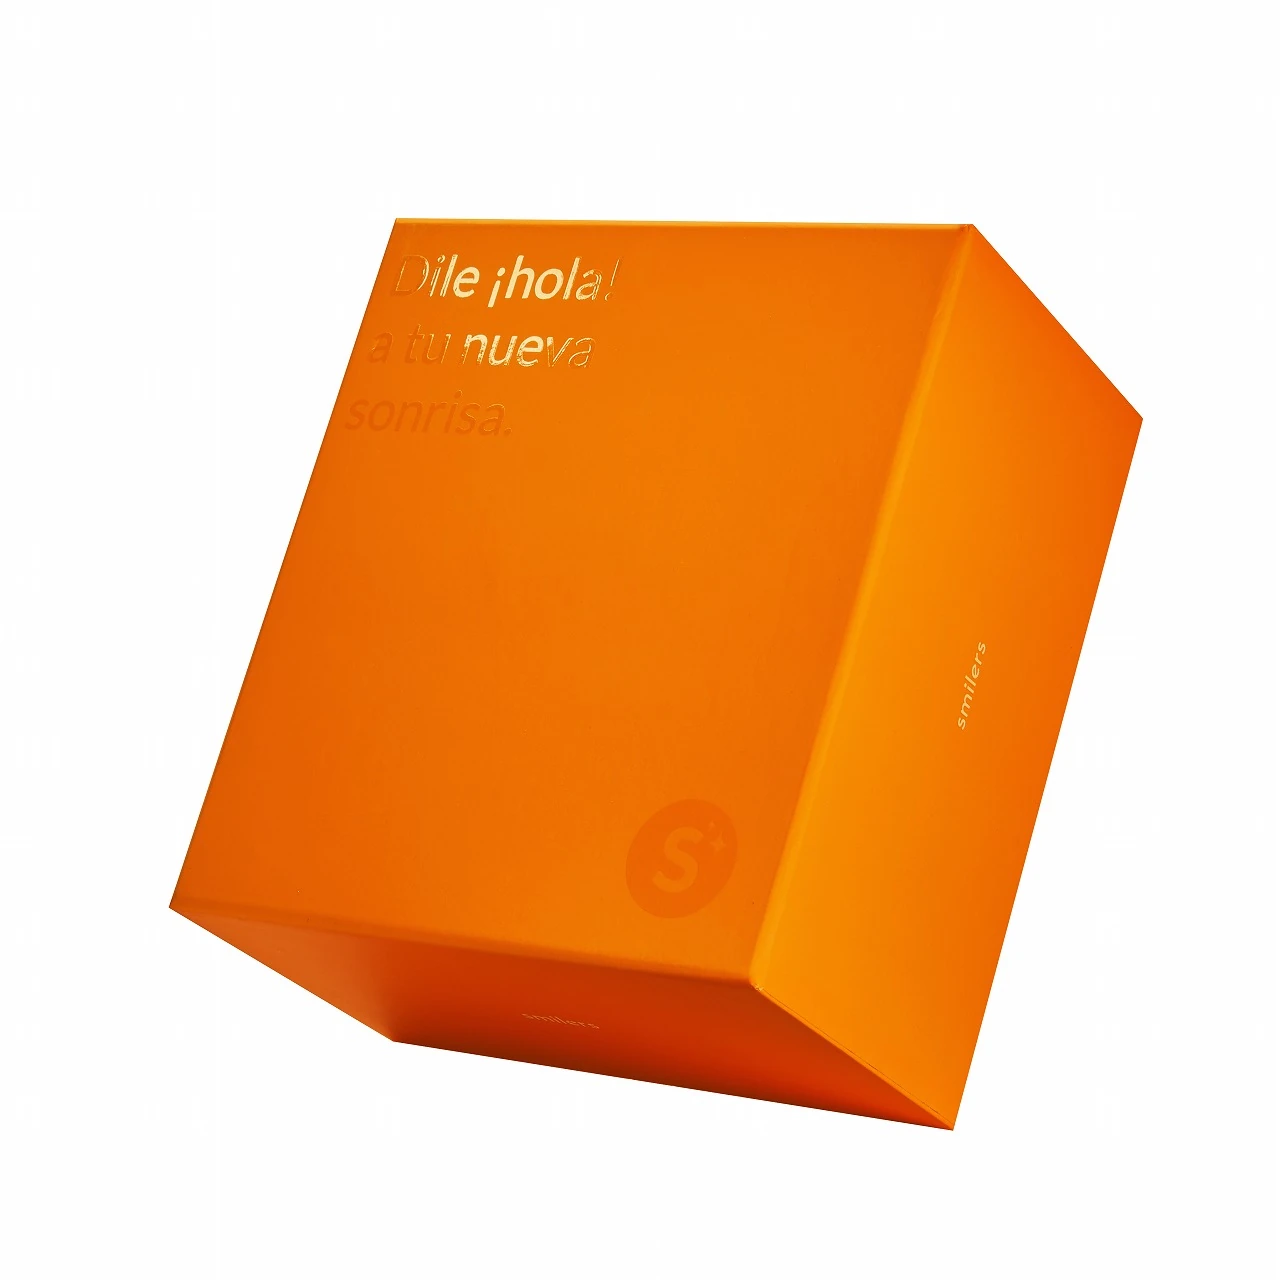
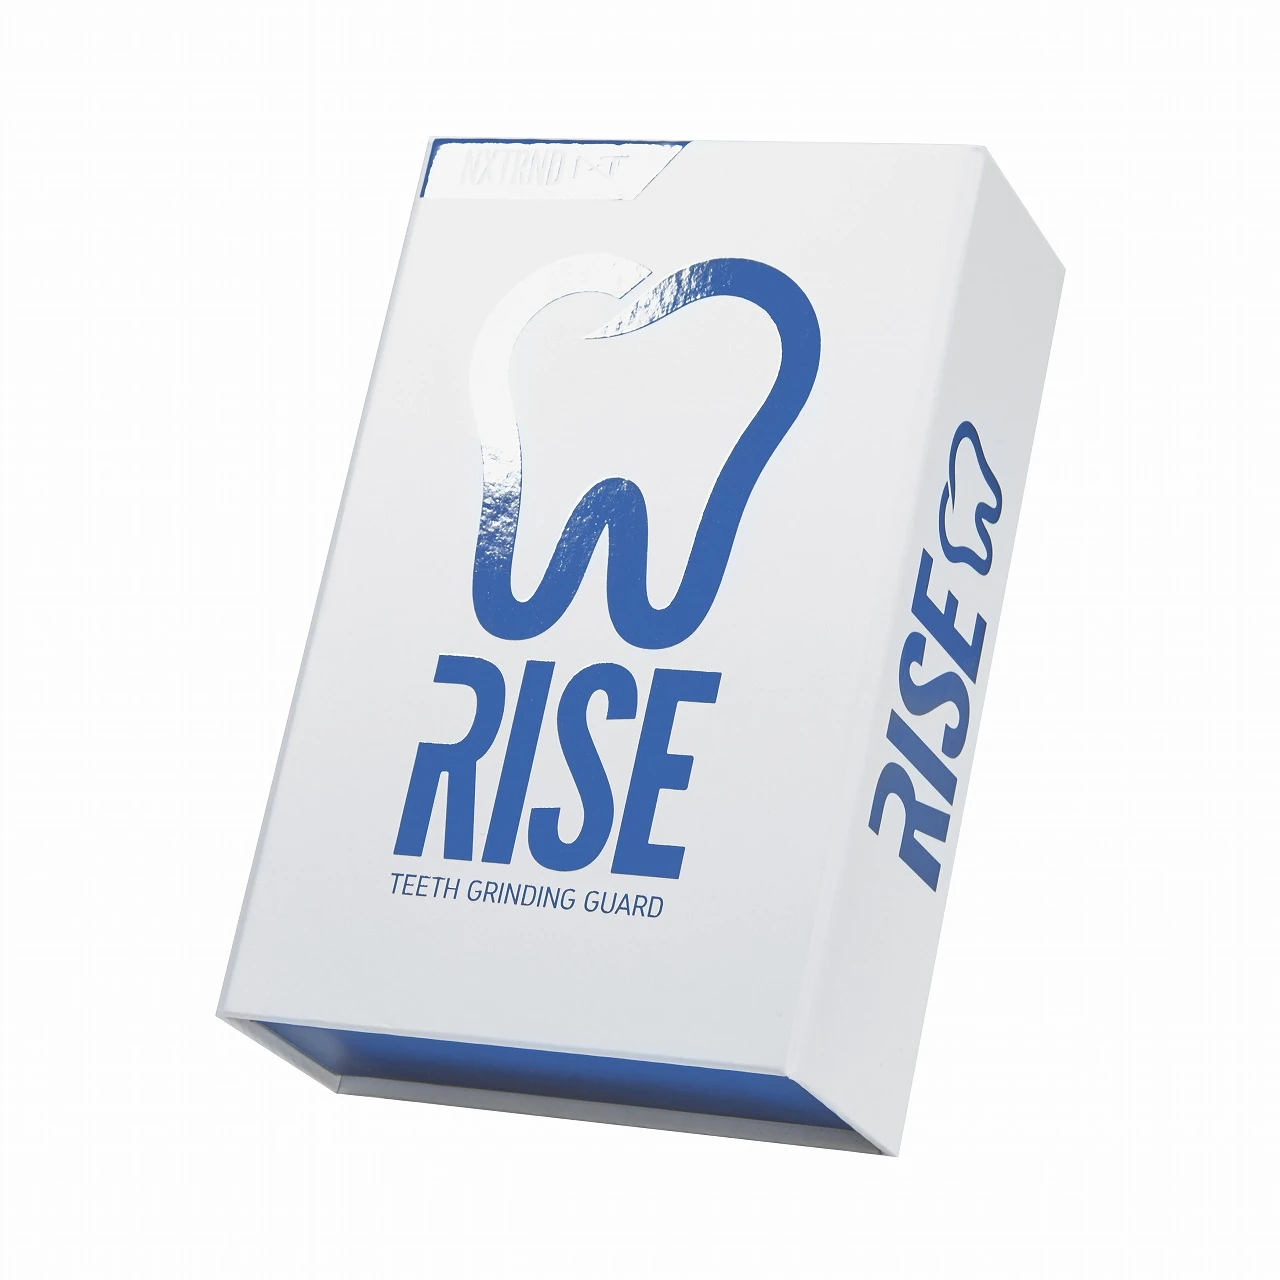
Review real packaging references for clear aligners, retainers and patient treatment kits, including magnetic rigid boxes, drawer boxes, lid-and-base structures, multi-stage organizers and custom insert systems. Use these projects to identify the structure, interior layout and presentation direction closest to your own program.
Develop the Packaging Around a Physical Sample
Packaging development moves from product information to structure, artwork and physical testing. The sample is where fit, presentation and opening experience can be reviewed together.
Define the Kit
Confirm treatment stages, case, accessories, dimensions and target quantity.
Build the Internal Layout
Establish cavity size, dividers, stage spacing and product-removal clearance.
Prepare the Sample Specification
Confirm box construction, dieline, branding, colors and finishing areas.
Test the Real Kit
Review fit, retention, opening, treatment access and visual finish.
Key Approval StageLock the Final Specification
Record revisions and use the approved sample as the production reference.
Manufacture and Verify the Complete Aligner Packaging System
Multiple packaging components should not be produced as unrelated parts. Structure, print, inserts and assembly should follow the same approved specification.
This keeps product fit, visual presentation and final assembly aligned throughout production.
Build the Outer Structure Around the Approved Interior
Magnetic, drawer, lid-and-base, folding and selected multi-level structures can be produced around the confirmed patient-kit layout.
Review dimensions, alignment, movement, closure and opening resistance against the approved sample.
Carry the Brand Direction Across Every Surface
CMYK or spot colors can be combined with specialty papers, lamination, foil, embossing, debossing and spot UV.
Review print consistency, finishing registration, wrapped edges and visible surface defects.
Produce the Insert Around Fit and Treatment Sequence
PET, EVA, paperboard, greyboard and hybrid systems can be developed around component geometry and stage organization.
Confirm cavity consistency, product retention, stage spacing and practical product access.
Review the Packaging as a Complete Patient Kit
Cases, printed materials, treatment-stage components and interior parts should be considered together before shipment preparation.
Review movement, component position, opening function and final patient-kit presentation.
Final review considers the complete package — structure, printing, finishing, insert position, stage organization and opening performance.
Send Us the Basics. We’ll Develop the Rest.
You do not need a finished packaging specification to start. A few core project details are enough for an initial review.
Questions About Custom Aligner Packaging
Quick answers about structure, inserts, sampling and custom production.
Show Us Your Aligner Kit. We’ll Build the Packaging Around It.
From compact retainer packaging to complete multi-stage patient kits, we can develop the structure, insert system and printed presentation around your actual products.